The ‘no dig’ method of gardening
 The allotment in August is usually a busy place, as well as a social hub for like-minded growers as they come together to exchange ideas and offer help and advice. A communal allotment tends to draw people together. But some folks don’t quite fit in with the traditional crowd. Take the ‘no-dig’ gardeners, for example. This is no longer viewed as being lazy and many people have abandoned their habits of digging and double-digging. This physically demanding task is widely regarded as unnecessary and damaging. Digging tends to destroy healthy soil crumb, as does the heavy application of fertilisers and garden chemicals. It damages the extensive network of mycorrhizal fungi, which help plant roots to access what they need.
The most important aspects of good soil are the structure and the life within it. Air and water within the soil are vital, as is the microbial life in the form of bacteria and fungi. Old roots within the soil are immensely beneficial because they help to form structure and sustain a healthy population of bacteria, which secrete organic ‘glues’ that bind soil particles to provide a good crumb. Earthworms also fulfil a vital function, working endlessly to incorporate organic matter into the soil and gently mixing up the soil crumb.
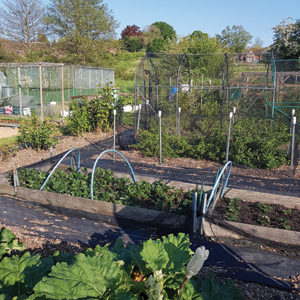
It is easy to see why a ‘no-dig’ gardening approach might be better for the soil, plant health and the gardener too! The method is ideal in a kitchen garden and allotment, including within raised beds and generally within the flower garden.
How to create a ‘no-dig’ bed
Preparation can commence at any time of the year:
• Mark out an area, cut down weed growth to ground level, remove the debris and put it onto the compost heap.
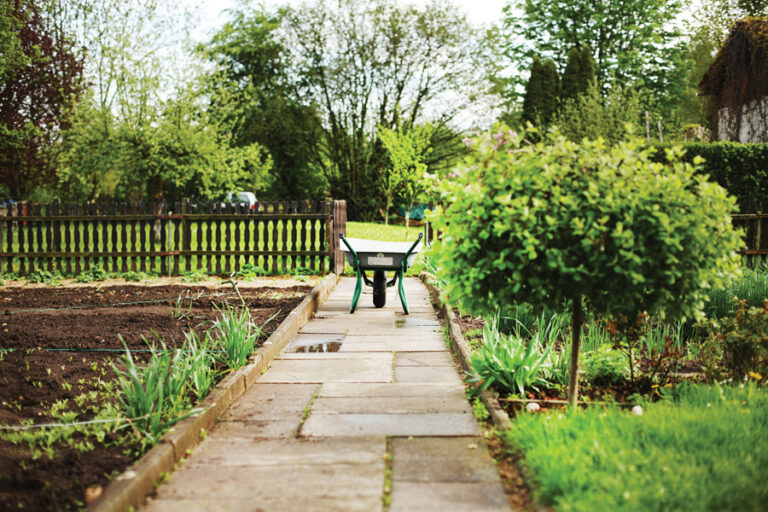
• Create grass-free pathways for access, using wood chippings, bark or stone mulch to prevent grass from spreading into your growing area.
• Cover the surface of your growing plot with cardboard or another biodegradable substance, to block out light and suppress weeds. It is best not to use carpets as they often contain chemical substances that leach into the soil.
• Add a deep layer of organic mulch on top of the cardboard. This needs to be at least 20cm deep. It can be homemade compost, fully-rotted manure, grass mowings, leaves, straw or a mixture of many things.
• Tread it down by walking firmly across it.
• Leave for at least six months, just removing weeds from the surface. During this time the soil organisms will work hard to create rich and friable soil underneath.
 • You’re ready to go! Plant or sow directly into your new plot. When weeds appear, hoe or remove them by hand.
• Once you have harvested your crops, cut down the top growth and place it on the compost heap. Apply a generous layer of mulch and leave until you are ready for your next planting season.
What could be simpler than that?
By Caroline Knight


